







Table of Contents
- What Happens During Boiler Installation: The Complete Process
- Boiler Installation Preparation Checklist
- Initial Survey and Assessment
- How Long Does a Boiler Install Take?
- The Installation Day: Step-by-Step
- New Boiler Installation Building Regulations
- Post-Installation Troubleshooting and Smart Controls
- Conclusion
Last Updated: August 23, 2026
What Happens During Boiler Installation: The Complete Process
A new boiler installation is one of the most significant investments a homeowner can make for their heating system. Understanding what happens during boiler installation helps you prepare for the day itself and know what to expect from start to finish. At Apex Gas & Heating Ltd, we provide professional gas, heating, and plumbing services across Sussex and Surrey, ensuring properties remain safe, warm, and comfortable.
This guide walks you through every stage of boiler installation, from the initial survey through to the final safety checks and commissioning, removing uncertainty and helping you feel confident about your investment.
Boiler Installation Preparation Checklist
Preparation is where successful boiler installations begin. The week before your installation appointment, clear the area around your existing boiler completely. Remove any items stored nearby, including cleaning products, tools, or decorative objects. Your Gas Safe engineer needs unrestricted access to the boiler and surrounding pipework. If your boiler is in a cupboard, empty it entirely.
Protect your floors and furnishings by moving furniture away from the work area if possible. Arrange access to your home and ensure someone will be present throughout the installation day. The engineer needs unrestricted entry and may need to access different areas of your property, including the boiler location, flue route, gas supply point, and potentially your radiators.
Check your water pressure and note the make and model of your existing boiler if you know it. Ensure your gas supply is accessible, as the Gas Safe engineer will need to inspect your gas supply pipework.
Request a site visit survey before your installation date if you haven’t already had one. This allows the engineer to identify any potential issues, such as flue routing challenges or pipework that needs upgrading, before the installation day itself.
Initial Survey and Assessment
The installation process typically begins with a detailed survey. Your Gas Safe engineer will inspect your existing boiler and central heating system, check the age and condition of your current pipework, examine your flue system, and assess whether your gas supply meets current safety standards.
The engineer will also check your water pressure and system drainage to understand how your current system operates. Building regulations compliance is checked during this phase, confirming that your flue routing meets current safety requirements and that your gas supply and ventilation are adequate for the new boiler. The survey also identifies the best location for your new boiler, though most replacements go in the same location as the old unit.
How Long Does a Boiler Install Take?
Most boiler installations take between 4 and 8 hours, depending on the complexity of your system and whether additional work is needed. A straightforward replacement of a like-for-like boiler in the same location typically takes 4 to 6 hours. If your installation involves system flushing, pipework upgrades, or relocating the boiler, expect 7 to 8 hours or potentially a second visit.
Your engineer will give you a realistic time estimate during the survey or on the morning of installation.
Most homeowners should expect their boiler installation to take between 4 and 8 hours. Plan your day accordingly and ensure someone is home for the full duration.
The Installation Day: Step-by-Step
Installation day is where all the preparation comes together. Here’s what actually happens during boiler installation, stage by stage.
Removal of the old boiler
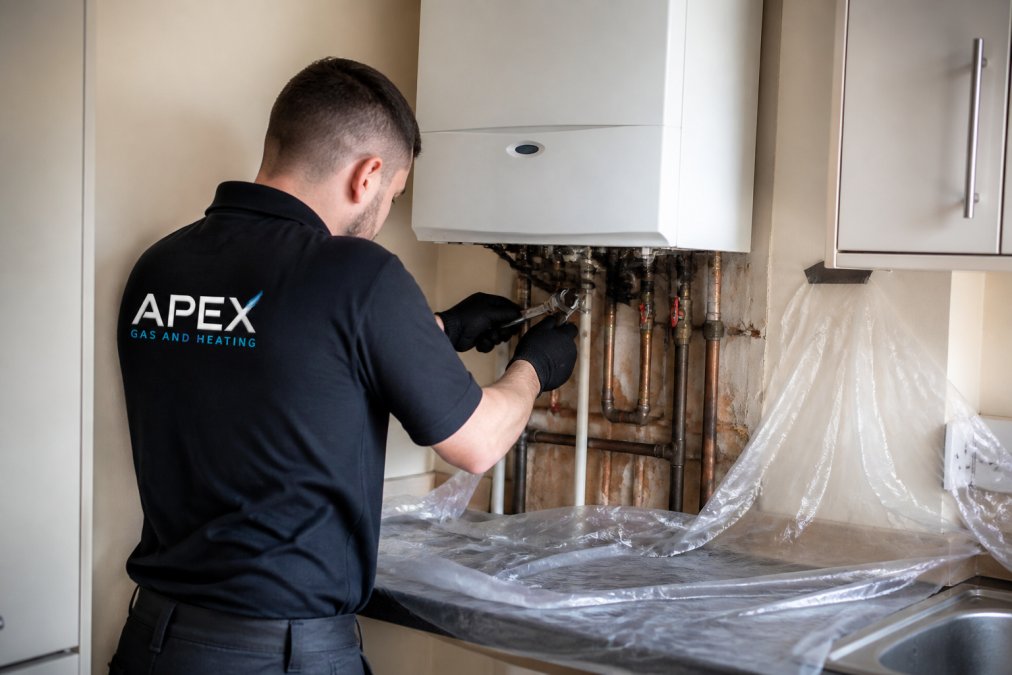
The engineer begins by isolating your old boiler from the gas supply, water supply, and central heating system. This involves closing isolation valves on the gas inlet and the water pipes connected to the boiler. The boiler is then carefully disconnected from the pipework. If your system contains water, it will be drained into a container. Once removed, the engineer will cap off any open pipes to prevent debris from entering the system.
System flushing and pipework upgrades
Before the new boiler is installed, your central heating system may need flushing, especially if it’s more than 10 years old or if the engineer has identified sludge or corrosion during the survey. A system flush removes debris, rust particles, and deposits that can damage the new boiler’s heat exchanger and reduce efficiency.
System flushing involves circulating a cleaning chemical through your radiators and pipework using a temporary pump, typically taking 1 to 2 hours. The dirty water is then drained and replaced with fresh water. Pipework upgrades happen at this stage if needed, with older copper pipework sometimes requiring replacement or isolation valves needing upgrading to meet current safety standards.
Installation of the new unit
Once the system is clean and any pipework is complete, the new boiler is positioned on the wall or stand and securely fixed. The boiler is then connected to the water supply, gas supply, and central heating pipework. Each connection is carefully made and tested for leaks. Your new boiler‘s expansion vessel is also checked and pressurised to the correct level, as this component absorbs pressure changes in the system and is critical for safe operation.
The condensate pipe is connected next. This small pipe drains acidic condensation that forms when the boiler burns gas and must slope downward slightly to allow proper drainage.
Flue and gas connection
The flue system is one of the most critical safety elements of boiler installation. Your engineer will inspect the existing flue route and confirm it meets current safety standards. If the old flue can be reused, it will be carefully connected to the new boiler. If it needs replacing, new flue pipe is installed.
The flue must be properly supported and routed to exit your property safely, with the flue termination at least 600mm away from windows, doors, and air vents to prevent combustion gases from being drawn back into your home (hse.gov.uk). The gas supply connection is made next, with the engineer connecting the boiler to your gas supply pipework using appropriate fittings. A gas leak test is performed using specialist equipment to confirm there are no leaks anywhere in the system.
Testing and commissioning
Once the boiler is installed and all connections are made, comprehensive testing begins. The engineer fires up the boiler and checks that it ignites properly and operates safely. Water pressure is checked and adjusted if necessary, with most boilers operating best at 1 to 1.5 bar pressure.
A carbon monoxide test is performed using a CO detector to confirm that combustion is clean and that no dangerous carbon monoxide is entering your home. The thermostat is tested to ensure it controls the boiler correctly. If you’re installing a smart thermostat, the engineer will programme it and show you how to use it. The boiler’s flow temperature is set, controlling how hot the water circulating through your radiators becomes and directly affecting your heating efficiency and comfort.
All radiators are checked to ensure they’re heating properly and bleeding is performed where needed. Your engineer will provide you with all warranty documentation and explain what’s covered.
Never attempt to adjust your boiler’s settings or safety controls yourself after installation. If something doesn’t feel right, unusual noises, poor heating, or water dripping, contact a Gas Safe engineer immediately.
New Boiler Installation Building Regulations
Building regulations exist to ensure boiler installations are safe and meet current standards. In England, boiler installations must comply with Building Regulations Part L, which covers conservation of fuel and power (gov.uk). This regulation requires that your new boiler is efficient, with modern condensing boilers typically achieving 90%+ efficiency.
Gas safety is governed by the Gas Safety (Installation and Use) Regulations. Your Gas Safe engineer is registered with the Gas Safe Register and is legally qualified to work on gas appliances. If your boiler installation involves changes to your building’s structure, such as new flue penetrations through walls or roofs, building regulation approval may be required before work begins.
Your engineer will provide you with a certificate of installation once the work is complete. This document proves that your boiler has been installed by a qualified Gas Safe engineer and meets all safety and building regulation requirements. Keep this certificate safe for insurance purposes, property sales, or future servicing.
Post-Installation Troubleshooting and Smart Controls
After your boiler installation is complete, the first few weeks are important for understanding how your new system operates. Water pressure often drops slightly in the first week as the system finds its equilibrium. Check your boiler’s pressure gauge regularly. If pressure falls below 1 bar, you’ll need to repressurise the system by opening a small valve on the boiler until pressure reaches 1.2 to 1.5 bar, then closing the valve.
Air in the system can cause radiators to heat unevenly or make gurgling noises. Bleeding radiators (opening the bleed valve at the top of each radiator) releases trapped air. Start with radiators furthest from the boiler and work toward it.
Strange noises from your new boiler are common initially. A slight humming from the pump or occasional clicking as the boiler cycles on and off is normal. Loud banging, persistent kettling sounds, or unusual vibration should be reported to your engineer.
Smart thermostat integration is one of the most valuable additions to modern boiler installations. If you’ve installed a smart thermostat, take time to learn its features. Most smart thermostats allow you to control heating remotely via an app, set schedules, and monitor energy usage, potentially reducing your heating bills through better control and awareness.
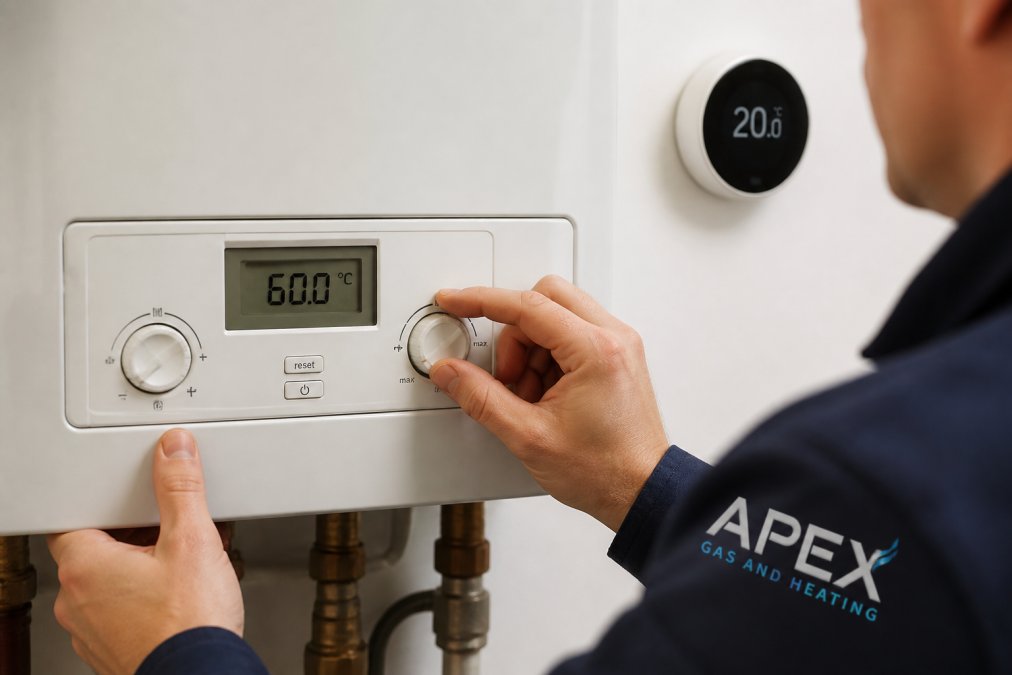
Flow temperature adjustment can significantly improve efficiency. Your boiler’s flow temperature determines how hot the water circulating through your radiators becomes. Modern condensing boilers operate most efficiently at lower flow temperatures, typically 55-60°C for systems with good insulation (peer-reviewed research).
Maintenance after installation is straightforward but essential. Annual boiler servicing keeps your system running safely and efficiently, extending your boiler’s lifespan significantly. Register your boiler’s warranty immediately after installation, as most manufacturers offer 5 to 10-year warranties on parts but require registration within a set timeframe, usually 30 days of installation.
Understanding what happens during boiler installation removes the uncertainty from one of your home’s most important systems. From the initial survey through to the final safety checks and commissioning, every stage serves a purpose, ensuring your new boiler operates safely, efficiently, and reliably for years to come. At Apex Gas & Heating Ltd, we handle boiler installations across Sussex and Surrey with the attention to detail and transparent communication that homeowners deserve. Our Gas Safe engineers manage every aspect of the process, from system flushing and pipework upgrades through to smart thermostat integration and post-installation support. Get a quote for your new boiler installation and discover why homeowners throughout the region trust us to keep their heating systems running safely and efficiently.
Frequently Asked Questions
How long does a boiler installation take?
A typical boiler installation takes between 4 to 8 hours, depending on the complexity of your heating system and whether pipework upgrades are needed. If your old boiler requires removal and system flushing is necessary, installation may extend towards the upper end. Our Gas Safe engineers will provide a more precise timescale during the initial survey.
What should I do to prepare my home for a boiler installation?
Clear the area around your current boiler, ensure access to all radiators, and move any valuables or furniture away from the work zone. Protect carpets and flooring with sheeting. Ensure your home is accessible on the installation day and that someone is present throughout. Confirm water and gas supply isolation points are known and accessible to your engineer.
Will my heating be turned off during the boiler installation?
Yes, your heating will be switched off during the installation process for safety reasons. The duration depends on how quickly your engineer completes the work. Most installations are completed within a single day, and your heating will be fully commissioned and operational by the end. Plan accordingly, especially during winter months.
What safety checks are performed after a new boiler is fitted?
After installation, your Gas Safe engineer conducts thorough commissioning tests including gas pressure checks, water pressure verification, flue safety inspection, and carbon monoxide alarm testing. The engineer also verifies that all isolation valves, the expansion vessel, and the condensate pipe are functioning correctly. A full safety check ensures your new heating system meets Building Regulations and operates safely.
Leave a Reply